I remember the night I tried to make a quick dinner and ended up with dry, flavorless chicken. The skillet was a battlefield, and my thighs were stubbornly bland. That disaster sparked a mission: to craft a recipe that turns ordinary bone‑in chicken into a succulent, aromatic masterpiece. This is the story that leads to the Easy Garlic Herb Chicken Thigh.
Picture this: a pan sizzling with olive oil, garlic cloves releasing a sweet, peppery perfume that dances through the kitchen. The chicken, still raw, waits like a quiet drum ready to explode into flavor. The herbs—thyme, rosemary, parsley—are sprinkled like confetti, turning the dish into a fragrant bouquet. The air is thick with anticipation, and the stove feels like a stage for culinary magic.
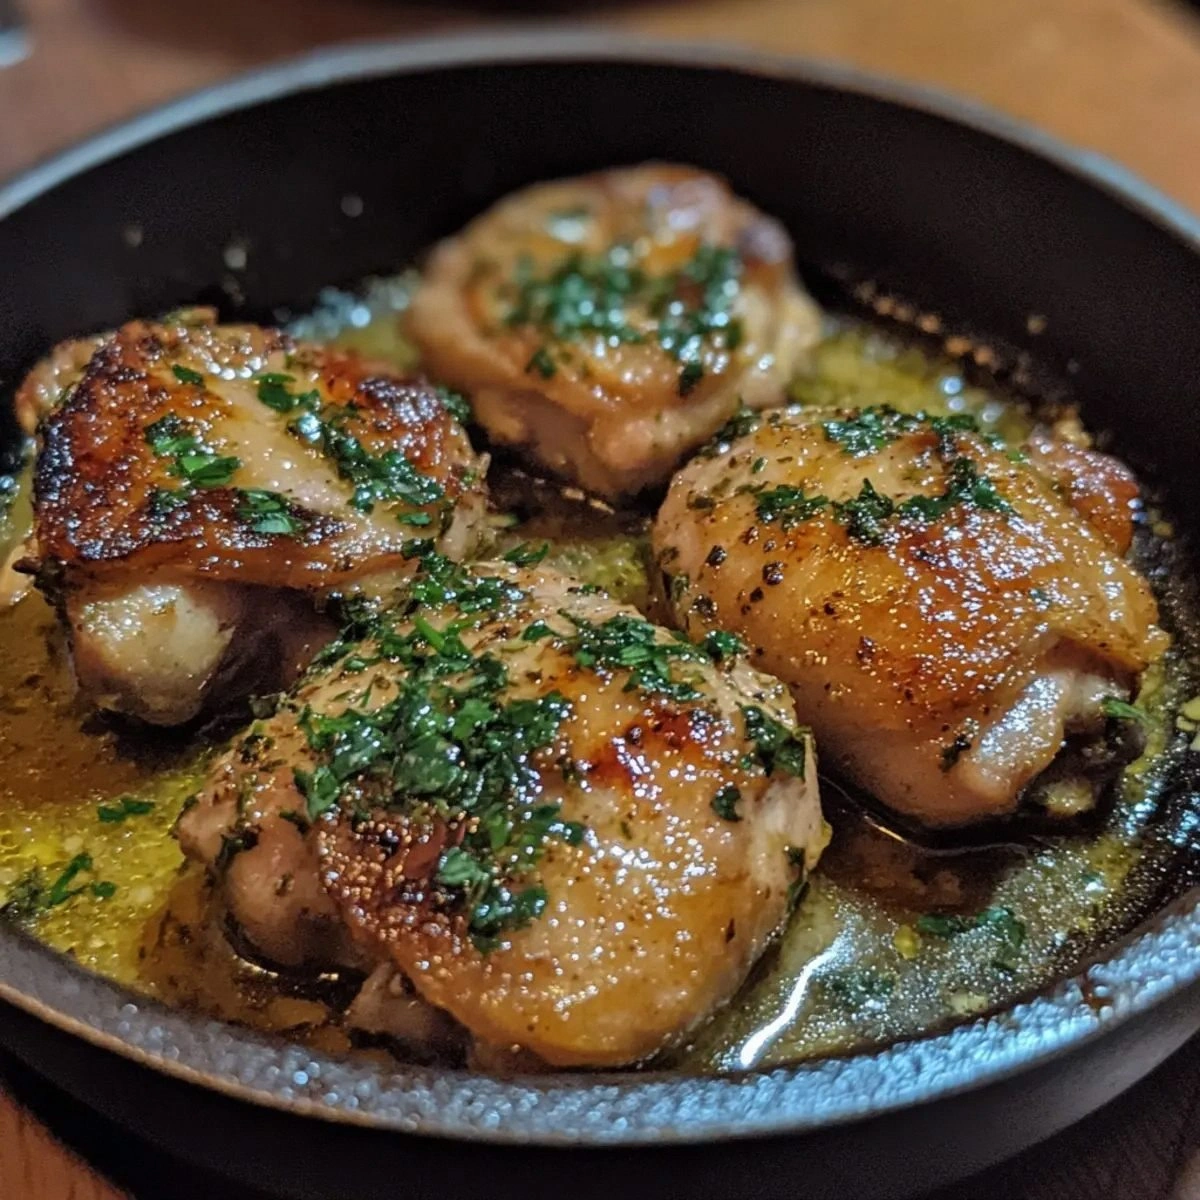
What makes this version stand out? It’s not just the ingredients; it’s the technique that locks in juices while giving the skin a golden, crackling finish. The broth and lemon juice create a sauce that coats the thighs like velvet, while the butter adds a glossy sheen that glistens in every bite. The result is a dish that feels indulgent yet remains approachable for any home cook. I dare you to taste this and not go back for seconds.
Most recipes get this completely wrong, focusing on over‑seasoning or under‑cooking. Here, the balance is precise: a simple blend of herbs, a splash of citrus, and a touch of butter. The result is a sauce that stays silky, not thick or watery. Let me walk you through every single step—by the end, you'll wonder how you ever made it any other way.
What Makes This Version Stand Out
- Taste: The garlic and fresh herbs create a depth that lingers on the palate, while the lemon brightens the richness of the chicken. The subtle heat from the pepper balances the buttery finish, ensuring no single flavor dominates.
- Texture: The skin crisps to a golden crunch before the meat softens into a melt‑in‑your‑mouth tenderness. The sauce coats the thighs, creating a silky, glossy glaze that keeps the juices locked in.
- Simplicity: With just a handful of pantry staples and a single skillet, you can achieve a restaurant‑style dish without a complicated prep routine.
- Uniqueness: The combination of broth and lemon creates a sauce that is both savory and bright, a rare pairing that sets this recipe apart from ordinary chicken dishes.
- Crowd Reaction: Friends who have tasted this will ask for seconds, and some will even beg for the recipe before the first bite.
- Ingredient Quality: Using bone‑in thighs adds depth of flavor that boneless cuts simply can’t match, while fresh herbs keep the dish lively.
- Cooking Method: Searing, deglazing, and finishing in the same pan saves time and reduces cleanup, making it ideal for busy evenings.
Alright, let's break down exactly what goes into this masterpiece...
Inside the Ingredient List
The Flavor Base
Olive oil is the canvas that carries every other flavor. It also helps the skin crisp to a beautiful golden hue. Skipping it would leave the pan dry and risk sticking the chicken, which can ruin the texture.
The Protein Core
Bone‑in chicken thighs provide a rich, meaty taste that leans into the sauce. The bone contributes gelatin, giving the sauce a silky body. If you only have boneless thighs, you’ll miss the depth of flavor that the marrow offers.
The Fresh Herb Ensemble
Fresh herbs like thyme, rosemary, and parsley bring brightness and depth. They also add a subtle earthy undertone that balances the garlic. If you’re short on fresh herbs, a pinch of dried herbs will work, but the aroma will be less vibrant.
The Final Flourish
Lemon juice and chicken broth create a sauce that coats the chicken like velvet. The acidity from the lemon cuts through the richness, while the broth adds body. If you omit either, the sauce will either be too thin or too heavy.
Everything's prepped? Good. Let's get into the real action...
The Method — Step by Step
- Season the chicken thighs generously on both sides with salt and black pepper. Pat them dry with a paper towel; moisture is the enemy of crisp skin. Let the seasoned thighs rest at room temperature for about five minutes to bring out the natural juices.
- Heat the olive oil in a large, heavy‑bottom skillet over medium‑high heat until it shimmers but isn’t smoking. Place the thighs skin side down, spacing them so they don’t touch. The first few minutes should sizzle loudly, a sign that the skin is beginning to crisp.
- Sear the thighs for 6–7 minutes, or until the skin is a deep amber and releases a crackling sound when lifted. Flip them gently with tongs and cook for another 4–5 minutes on the other side. This double sear ensures even cooking and a uniform golden crust.
- Add the minced garlic to the pan, letting it sauté for 30 seconds until fragrant. The garlic should release a sweet aroma but not brown; if it starts to brown, lower the heat. This quick burst of flavor sets the stage for the sauce.
- Deglaze the pan with a splash of chicken broth, scraping up any browned bits with a wooden spoon. These bits are packed with flavor and will become the base of the sauce. Let the broth reduce for 2 minutes, watching it thicken slightly.
- Stir in the fresh herbs, lemon juice, and butter. The butter should melt into the sauce, giving it a glossy sheen. The mixture should be silky, not chunky; if it’s too thick, add a teaspoon of broth to loosen it.
- Return the thighs to the pan, spooning the sauce over them. Reduce the heat to medium and cover the skillet. Cook for 10–12 minutes, or until the chicken reaches an internal temperature of 165°F (74°C). The sauce should thicken and coat the meat beautifully.
- Remove the skillet from heat and let the chicken rest for 5 minutes. This rest period allows the juices to redistribute, ensuring each bite remains moist. While resting, drizzle any remaining sauce over the thighs for an extra burst of flavor.
That's it — you did it. But hold on, I've got a few more tricks that'll take this to another level...
Insider Tricks for Flawless Results
The Temperature Rule Nobody Follows
Many cooks overheat the pan, causing the skin to burn before the meat cooks. Keep the skillet at medium heat after the initial sear; this maintains a steady temperature that cooks the chicken evenly while preserving the crispness.
Why Your Nose Knows Best
The aroma that rises from the pan is a reliable indicator of progress. When the garlic releases its fragrance, it signals that the base is ready for the broth; if you wait too long, the garlic will start to burn and lose its subtle sweetness.
The 5‑Minute Rest That Changes Everything
Resting the chicken after cooking allows the juices to redistribute. Skipping this step can leave the meat dry and the sauce thick; a short rest keeps the flavor balanced and the texture silky.
Butter Finish for Extra Shine
Adding butter at the end not only enriches the sauce but also gives it a silky gloss. Use unsalted butter to control the salt level; if you prefer a richer taste, add a pinch of sea salt to the sauce.
Broth Selection Matters
Using low‑sodium chicken broth keeps the dish from becoming overly salty. If you’re on a budget, a homemade broth with a pinch of salt will perform just as well, and it adds a personalized touch.
Herb Timing Is Key
Adding herbs too early can cause them to lose their bright flavor. Add them after the garlic has sautéed, so they infuse the sauce without losing their vibrant aroma.
Creative Twists and Variations
This recipe is a playground. Here are some of my favorite ways to switch things up:
Smoky Chipotle Kick
Swap the fresh herbs for chipotle powder and add a dash of smoked paprika. The sauce gains a deep, smoky flavor that pairs perfectly with corn or rice. This version is ideal for a spicy dinner that still feels comforting.
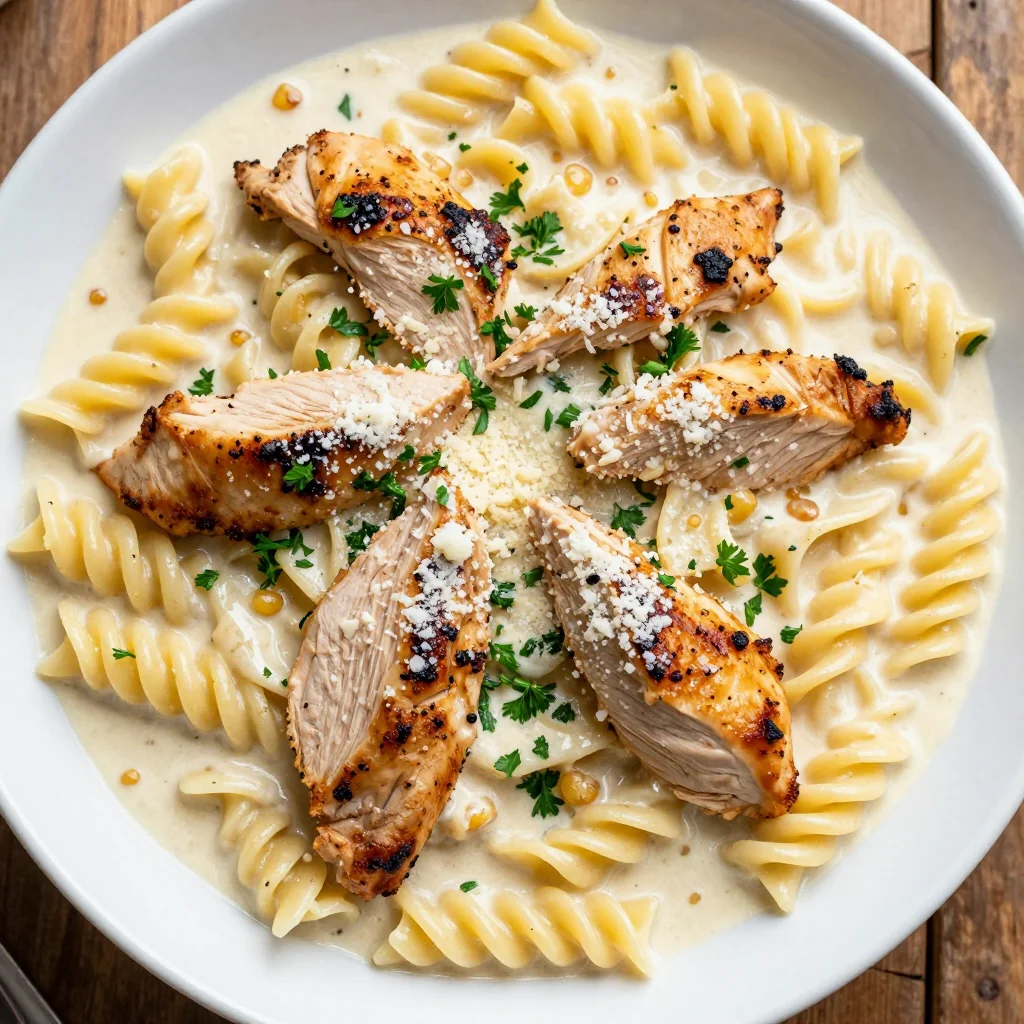
Herb‑Infused Creamy Parmesan
Stir in grated Parmesan at the end of cooking, creating a creamy, cheesy glaze. The parmesan adds a nutty depth that complements the garlic. Serve over pasta or mashed potatoes for a hearty meal.
Asian Twist with Soy
Replace the chicken broth with low‑sodium soy sauce and add a splash of sesame oil. The sauce takes on an umami profile, while a sprinkle of toasted sesame seeds adds crunch. Pair with steamed rice and stir‑fried veggies.
Roasted Garlic Variation
Roast the garlic cloves in the oven until caramelized before adding them to the pan. The sweetness of roasted garlic transforms the sauce into a mellow, caramelized flavor. This approach is great for a more dessert‑like finish.
Herb‑Butter Fusion
Mix the butter with chopped parsley and chives before adding it to the pan. The herb butter melts into a fragrant sauce that coats the chicken beautifully. The fresh herbs remain bright, giving the dish a vibrant finish.
Low‑Carb Parmesan Crust
After searing, sprinkle grated parmesan on top of the chicken and let it melt into a crispy crust. The parmesan crust adds a crunchy texture that contrasts with the tender meat. This variation is perfect for keto or low‑carb diners.
Storing and Bringing It Back to Life
Fridge Storage
Cool the chicken completely before placing it in an airtight container. Store in the refrigerator for up to three days. When ready to serve, reheat gently in a skillet with a splash of broth to keep the sauce moist.
Freezer Friendly
Wrap each thigh individually in parchment paper, then place them in a freezer bag. Freeze for up to two months. Thaw overnight in the refrigerator before reheating; this prevents the meat from becoming rubbery.
Best Reheating Method
Reheat the chicken in a skillet over medium heat, adding a tablespoon of water or broth to create steam. Cover for a few minutes until the internal temperature reaches 165°F (74°C). The splash of liquid helps restore the sauce’s silky texture.