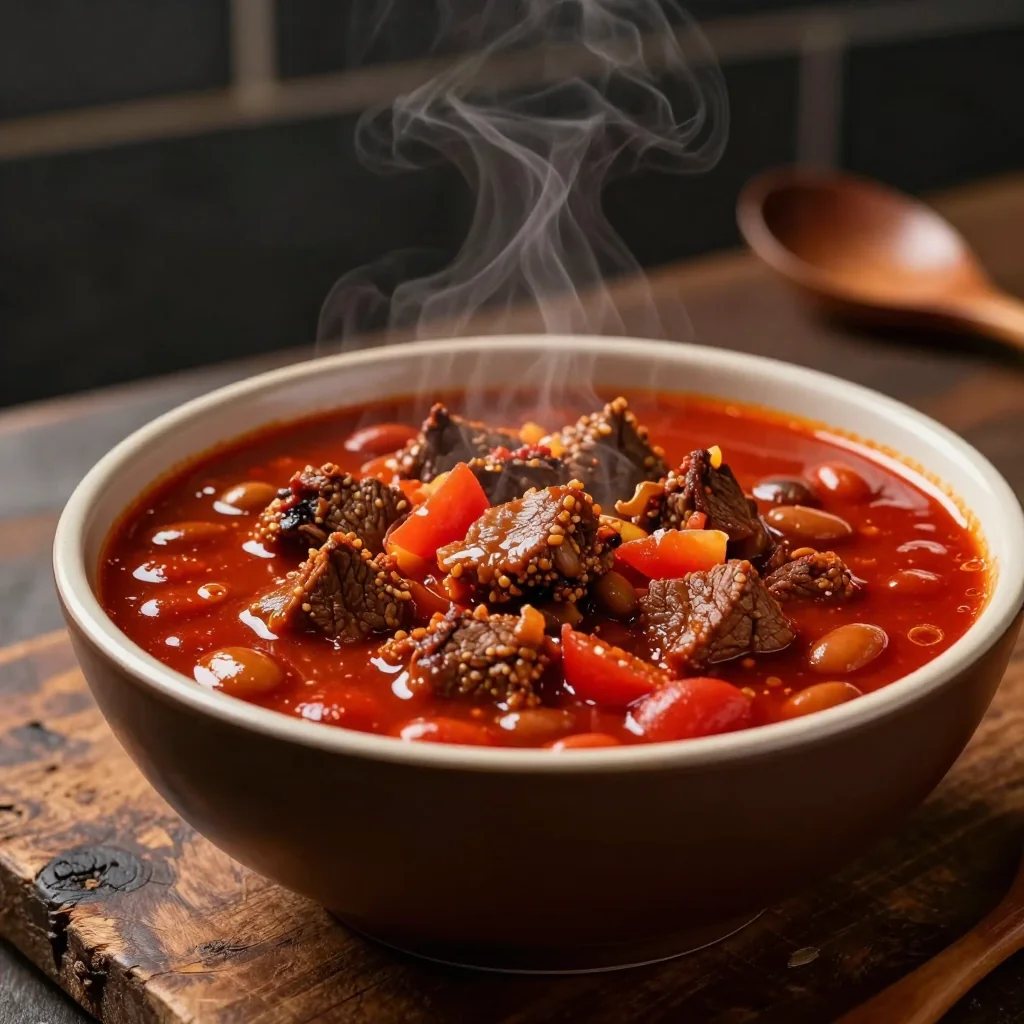
A hearty, comforting bowl of chili that brings together tender beef, smoky beans, and ripe tomatoes for a perfect all‑year dinner.
I still remember the first time I tasted a truly authentic chili at a small roadside stand during a road‑trip across the American Southwest. The aroma of simmering beef, beans, and tomatoes mingled with the faint heat of chilies, creating a warm, inviting scent that seemed to wrap around the whole car. As the sun set behind the desert dunes, the flavors lingered in my memory, and I knew I had to capture that moment in my own kitchen.
Chili, especially the beef variety, has deep roots in Mexican‑American culinary traditions. It’s a dish that brings families together, whether it’s a casual weeknight dinner or a festive gathering. The combination of ground beef, hearty beans, and tangy tomatoes makes it both nourishing and satisfying, while the blend of spices adds a depth that’s both comforting and exciting.
In this recipe, I’ll walk you through each step, from the careful browning of the beef to the slow simmer that melds all the flavors together. You’ll learn how to balance heat and sweetness, how to achieve the perfect texture, and how to make the dish adaptable for different dietary preferences.
I’m thrilled to share this beloved recipe with you, and I can’t wait for you to experience the same warmth and joy that I felt on that desert road. Let’s get cooking!
🌟 Why This Recipe Will Captivate You
Beef Chili with Beans and Tomatoes is more than a simple stew; it’s a celebration of flavor, texture, and tradition.
- ✨ Robust Flavor Profile: The combination of smoked paprika, cumin, and a touch of oregano creates layers of smoky, earthy notes that linger on the palate.
- ✨ Nutrient‑Rich Beans: Kidney and black beans provide plant‑based protein, fiber, and essential minerals, making the dish both filling and heart‑healthy.
- ✨ Perfect Balance of Heat and Sweetness: Fresh tomatoes add natural acidity while a modest amount of chili powder offers a gentle kick without overwhelming heat.
- ✨ Versatile Serving Options: Top with cheese, sour cream, or cilantro for a customizable experience that suits every taste.
- ✨ One‑Pot Convenience: All ingredients simmer together, minimizing cleanup and allowing flavors to meld beautifully.
- ✨ Freezer‑Friendly: The chili freezes well, making it a perfect make‑ahead meal for busy weeks.
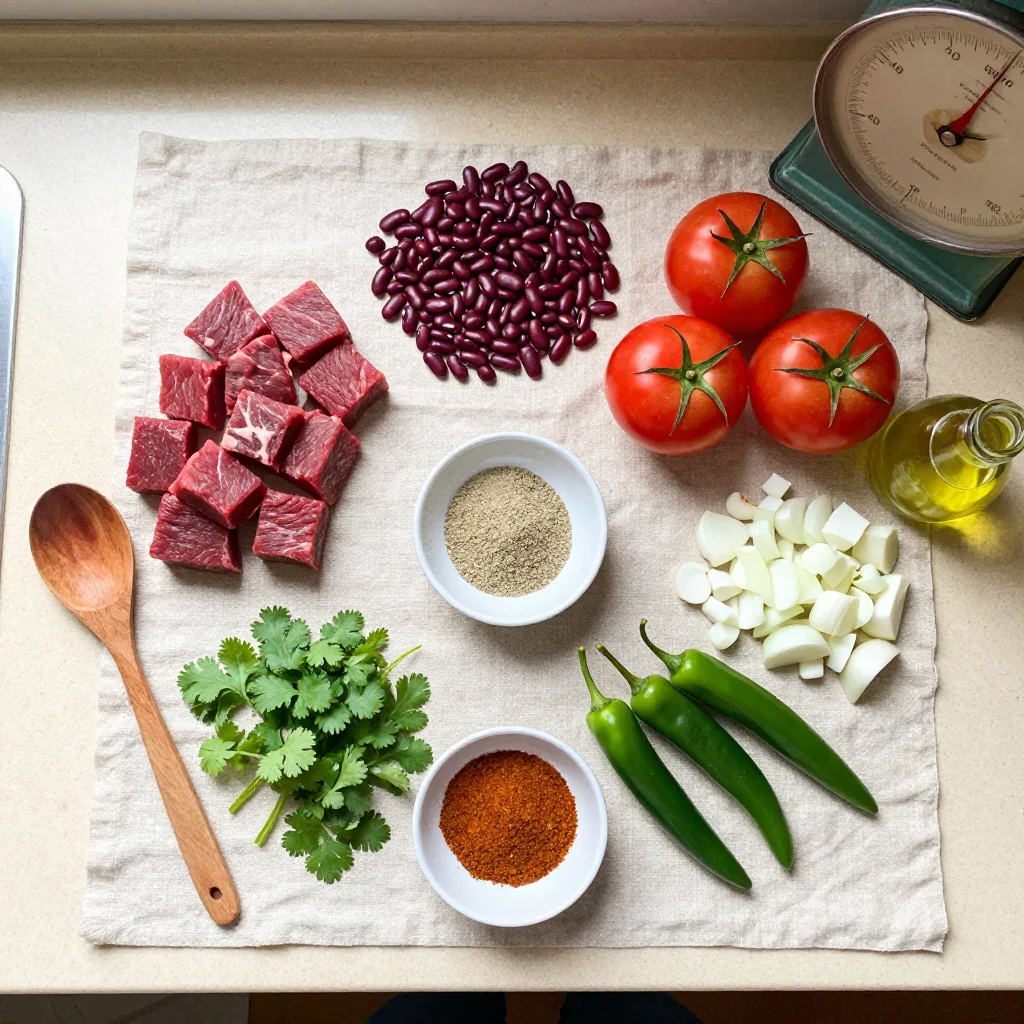
🥗 Ingredients
📝 Complete Ingredient List
For the Chili Base:
For the Beans & Tomatoes:
For Garnish & Serving:
🔍 Focus on Key Ingredients
Ground Beef
Ground beef provides the hearty backbone of the chili, delivering rich, meaty flavor that absorbs the spices beautifully. When choosing beef, opt for 85% lean to ensure a balance of juiciness and reduced excess fat. Browning the beef first creates a caramelized crust that adds depth and a subtle smoky note to the final dish.
Beans (Kidney & Black)
Beans are not only a source of protein and fiber but also act as a natural thickener. Their creamy texture contrasts with the tender beef, creating a satisfying bite. Rinsing canned beans removes excess sodium and helps them better absorb the aromatic broth.
Tomatoes
Tomatoes bring acidity and a natural sweetness that balances the heat from chilies. The combination of diced tomatoes and tomato paste intensifies the sauce, giving it a velvety consistency while preserving the bright, tangy flavor that defines classic chili.
🔄 Quick Substitutions
| Ingredient | Alternative |
|---|---|
| Ground beef | Ground turkey or plant‑based mince |
| Kidney beans | Great Northern beans |
| Beef broth | Vegetable broth or water with bouillon |
👨🍳 Step‑by‑Step Instructions
Follow these detailed steps to create a perfectly balanced, aromatic beef chili that’s both comforting and full of flavor.
📋 Phase 1: Preparation & Mise en Place
Gather and prep all ingredients before you start cooking.
Prep the Vegetables
Dice the onion and red bell pepper into uniform pieces about ½ inch thick. Mince the garlic cloves until they form a fine paste. Rinse the kidney and black beans under cold water and set them aside to drain. This preparation ensures even cooking and prevents over‑cooking of the beans later.
Measure Spices and Liquids
Measure out chili powder, cumin, smoked paprika, oregano, salt, and pepper into a small bowl. Having them ready helps you add the spices quickly while the meat browns, preventing the mixture from cooling down.
🔥 Phase 2: Cooking & Assembly
Combine ingredients and let the flavors meld over a gentle simmer.
Brown the Ground Beef
Heat 2 tbsp of olive oil in a large Dutch oven over medium‑high heat. Add the ground beef, breaking it up with a wooden spoon. Cook until the beef loses its pink color and develops a deep brown crust, about 6‑8 minutes. Drain excess fat if needed, leaving about 1 tbsp of oil for flavor.
Sauté Aromatics
Reduce heat to medium and add the diced onion, bell pepper, and minced garlic. Sauté for 4‑5 minutes until the onions turn translucent and the garlic becomes fragrant. This step builds the flavor foundation of the chili.
Incorporate Spices
Sprinkle the chili powder, cumin, smoked paprika, oregano, salt, and pepper over the vegetables. Stir continuously for 1‑2 minutes to toast the spices, releasing their essential oils and deepening the overall aroma.
Add Tomatoes, Beans, & Broth
Pour in the diced tomatoes, tomato paste, and beef broth. Stir until the tomato paste fully dissolves. Add the rinsed kidney beans, black beans, and the drained beans from the cans. Bring the mixture to a gentle boil, then reduce to a simmer.
✨ Phase 3: Finishing & Plating
Finalize the dish and present it beautifully.
Simmer to Perfection
Allow the chili to simmer uncovered for 30‑40 minutes, stirring occasionally. The sauce will thicken, and the flavors will meld. Taste and adjust seasoning with additional salt or pepper if desired.
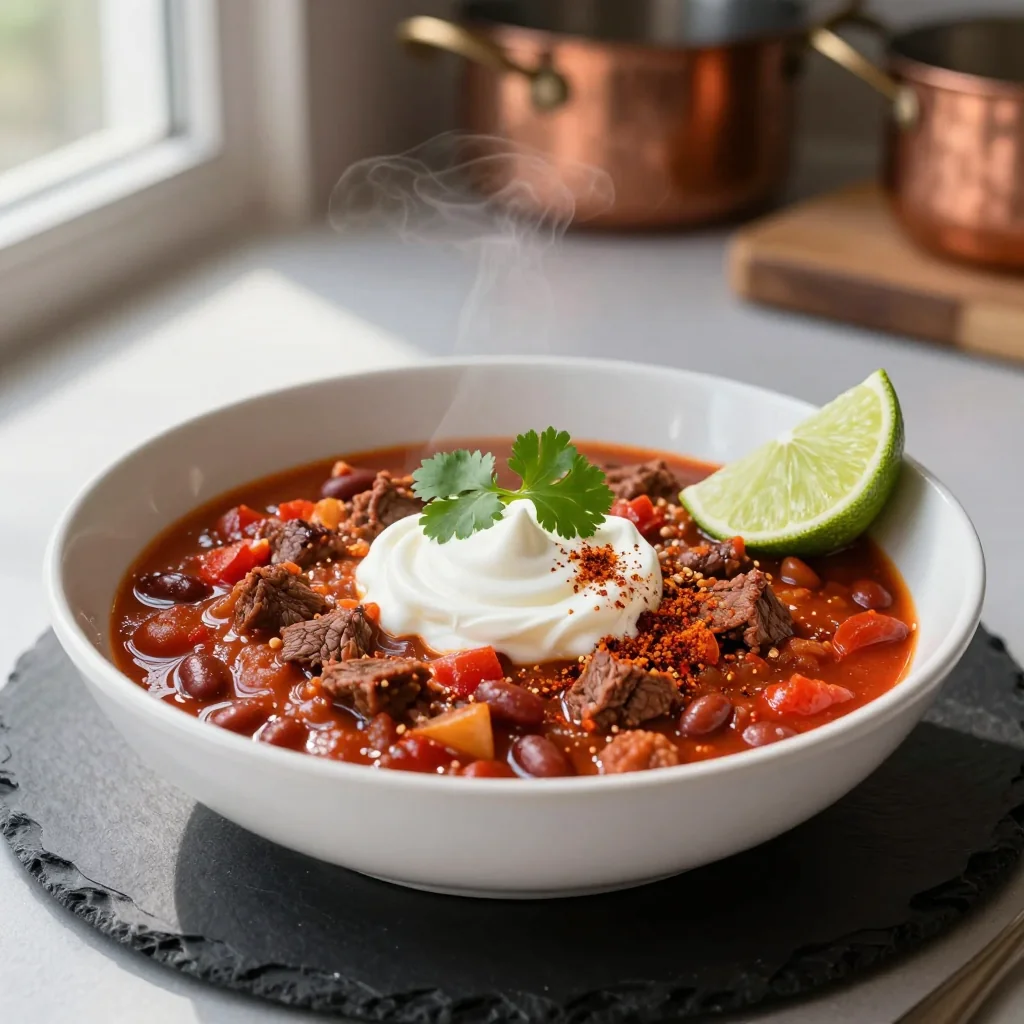
Garnish and Serve
Once the chili reaches a hearty consistency, ladle it into bowls. Top each serving with a generous sprinkle of shredded cheddar, a dollop of sour cream, chopped cilantro, sliced jalapeños, and a lime wedge on the side. The garnish adds brightness, creaminess, and a pop of color.
Accompany with Sides
Serve the chili with warm cornbread, crusty sourdough, or a simple side of rice. The starchy side balances the heat and makes the meal more satisfying.
💡 Expert Tips & Tricks
🛒 Choosing the Best Ingredients
Selecting high‑quality beef is essential; look for a deep red color and a firm texture. Fresh, firm bell peppers and onions should feel heavy for their size and have a crisp snap when bitten. When buying canned beans, choose those labeled “low‑sodium” to control the salt level. Finally, opt for fire‑roasted diced tomatoes if you want an extra smoky depth without additional spices.
🔪 Preparation Techniques
Before cooking, pat the ground beef dry with paper towels—this helps it brown rather than steam. Dice the vegetables uniformly so they cook evenly. When mincing garlic, sprinkle a pinch of salt to break down the cells, releasing more flavor. Use a wooden spoon to stir, as it won’t conduct heat and will prevent scorching the bottom of the pot.
🌡️ Mastering the Cooking Process
Keep the heat at medium‑high while browning the meat, then lower to medium for sautéing aromatics. Simmering uncovered allows excess liquid to evaporate, thickening the chili. If you prefer a thicker texture, let it simmer longer or mash a few beans against the side of the pot and stir them back in. For a smoother sauce, blend a portion of the chili with an immersion blender before serving.
🍽️ Presentation & Service
Serve the chili in shallow bowls to showcase the vibrant colors of the beans and tomatoes. Garnish with a swirl of sour cream, a sprinkle of cheese, and fresh cilantro for contrast. Adding a lime wedge at the table invites diners to add a burst of citrus brightness just before eating, elevating the overall experience.
🏆 Pro Tips
Professional chefs rely on precision, timing, and technique to turn a simple chili into a culinary masterpiece.
- 🎯 Build Layers of Flavor Early: Begin by searing the beef until a deep crust forms. This Maillard reaction creates complex, caramelized notes that cannot be replicated by later cooking stages.
- 🎯 Use Homemade Stock: Replace store‑bought broth with a homemade beef stock simmered with aromatics for richer depth and less sodium.
- 🎯 Toast Spices Separately: Before adding them to the pot, toast chili powder, cumin, and smoked paprika in a dry skillet for 30‑45 seconds. This releases essential oils and intensifies the spice profile.
- 🎯 Finish with Acid: A splash of fresh lime juice at the end brightens the dish, balancing the richness of the meat and beans.
- 🎯 Control Heat with Fresh Chilies: If you prefer a spicier version, add sliced jalapeños or chipotle peppers in adobo during the simmering stage for a smoky heat.
- 🎯 Rest Before Serving: Let the chili rest for 10‑15 minutes off the heat; flavors continue to meld, and the sauce thickens naturally.
“A great chili is a conversation between fire and flavor, each bite telling a story of patience and spice.” — Chef Thomas Keller
🔄 Variations & Adaptations
This chili is a flexible canvas; feel free to experiment with proteins, heat levels, and dietary needs.
🥬 Vegetarian / Vegan Version
Replace ground beef with textured vegetable protein (TVP) for for vegans, or use a plant‑based meat substitute. For vegan, swap sour cream for coconut yogurt and cheddar for nutritional yeast or vegan cheese. Use vegetable broth instead of beef broth.
- TVP (textured vegetable protein) – rehydrate in hot water, then season as you would the beef.
- Coconut yogurt – adds creaminess without dairy.
🌶️ Flavor Variations
The base recipe is a perfect foundation for exploring global flavors. Adjust the spice blend or add regional ingredients to create unique twists.
Spicy Version
Increase the chili powder to 3 tbsp and add 1 tsp of cayenne pepper. Include 1‑2 fresh serrano chilies, sliced thin, for a bright, lingering heat.
Mediterranean Version
Swap cumin for oregano and add ½ cup of Kalamata olives, ¼ cup of feta cheese, and a pinch of dried oregano. Finish with a drizzle of extra‑virgin olive oil.
Asian Fusion Version
Incorporate 2 tbsp of soy sauce, 1 tsp of ginger paste, and 1 tbsp of sesame oil. Garnish with sliced green onions and toasted sesame seeds for a savory, umami‑rich twist.
⚠️ Dietary Adaptations
Gluten‑Free
Ensure all broth and canned goods are certified gluten‑free. Use gluten‑free corn tortillas as a side if desired.
Lactose‑Free
Omit sour cream and cheese, or substitute with lactose‑free alternatives such as almond‑based sour cream and dairy‑free cheese.
Low‑Calorie
Use lean ground turkey or chicken, reduce the amount of oil, and increase the proportion of beans. Serve with a side of cauliflower rice to lower overall calories.
👶 Kid‑Friendly Version
For younger palates, reduce the chili powder to 1 tbsp, omit jalapeños, and serve with a side of plain rice or soft tortilla chips. Top with a mild cheddar and a drizzle of honey for a subtle sweet contrast.
📦 Conservation & Reheating
🧊 Conservation
Refrigerator
- Duration: 4 days
- Recommended container: airtight glass or BPA‑free plastic
- Tip: Let the chili cool to room temperature before sealing to avoid condensation.
Freezer
- Duration: 3 months
- Method: Portion into freezer‑safe bags, remove air, label with date.
- Defrosting: Transfer to refrigerator overnight or use the defrost setting on your microwave.
💡 For best texture, reheat from frozen in a saucepan over low heat, stirring occasionally.
♨️ Reheating
🔥 Oven (Recommended)
- Preheat to 180 °C (350 °F).
- Cover the dish with foil to retain moisture.
- Heat for 20‑25 minutes, stirring halfway.
- Remove foil, heat an additional 5‑7 minutes to develop a slight crust on the top.
⚡ Microwave (Quick)
- Place a portion in a microwave‑safe bowl.
- Cover with a microwave‑safe lid.
- Heat on medium power for 2‑3 minutes, stirring halfway.
🍳 Stovetop
Transfer the desired amount to a saucepan, add a splash of broth or water, and simmer over medium heat, stirring frequently, for 5‑10 minutes until heated through.
🍷 Perfect Pairings
🥗 Side Dishes
- Warm Cornbread: Its buttery crumb balances the heat and adds a sweet, comforting contrast.
- Mexican Rice: A fragrant side with tomatoes and cilantro that complements the chili’s bold flavors.
- Simple Green Salad: Lightly dressed with lime vinaigrette to cut through the richness.
🍷 Wine & Beverage Pairings
- Zinfandel: Its ripe fruit notes and gentle tannins echo the chili’s spice.
- Malbec: Offers dark fruit flavors that stand up to the beef’s richness.
- Non‑Alcoholic: A sparkling ginger‑lime mocktail provides a refreshing counterpoint.
🍰 To Complete the Meal
Start with a light avocado‑lime soup, then enjoy the chili as the main course, and finish with a caramel flan or churros dusted in cinnamon sugar. The sweet dessert rounds out the spice and leaves a pleasant aftertaste.
❓ Frequently Asked Questions
Q: Can I use a different type of meat?
Absolutely! Ground turkey, chicken, or even pork work well. Adjust the seasoning slightly—turkey benefits from a bit more salt, while pork pairs nicely with a touch of brown sugar for depth.
Q: How do I control the heat level?
Reduce the chili powder to 1 tbsp for a milder version, or increase it to 3 tbsp plus a dash of cayenne for extra heat. Adding fresh chilies like jalapeños or serranos allows you to customize the spice to your preference.
Q: What if I don’t have canned beans?
You can cook dried beans ahead of time. Soak them overnight, then simmer for 1‑2 hours until tender. Rinse them before adding to the chili. This method yields a richer, more authentic bean texture.
Q: What’s the best way to thicken the chili?
Simmer uncovered for a longer period, allowing excess liquid to evaporate. Alternatively, mash a handful of beans against the side of the pot, or stir in a tablespoon of masa harina (corn flour) dissolved in water.
Q: Is it possible to make this recipe gluten‑free?
Yes. Ensure the broth and canned tomatoes are labeled gluten‑free, and avoid any added thickeners that contain gluten. All the core ingredients are naturally gluten‑free, making it a safe choice for a gluten‑free diet.
Q: Can I prepare the chili ahead of time?
The chili actually improves after a few hours as the flavors meld. Prepare it a day ahead, refrigerate, and reheat gently before serving. This also makes it an excellent make‑ahead meal for busy weekdays.
🎉 To Your Kitchen!
This Beef Chili with Beans and Tomatoes is a timeless classic that brings together robust flavors, hearty textures, and a comforting warmth perfect for any season. The combination of ground beef, beans, and tomatoes creates a balanced, protein‑rich meal that satisfies both body and soul. By following the detailed steps, you’ll achieve a perfectly seasoned, richly layered chili that can be adapted to suit any dietary preference or flavor craving.
I encourage you to try the recipe, experiment with the suggested variations, and make it your own. Share your results, ask questions in the comments, and let the community know how you customized it for your own taste.
Have you tried this recipe?
Leave a comment and rating below! Share your photos on Instagram using #BeefChiliLove to be featured on our site.
📚 You Might Also Like
Spicy Chicken Enchiladas
Vegetarian Lentil Soup
Spicy Chicken Enchiladas
New
Roasted Red Pepper Soup
Beef Chili with Beans and Tomatoes
A hearty, comforting bowl of chili packed with beef, beans, and ripe tomatoes.
💬 Comments & Reviews
Leave a Comment
[Space for reader comments]