I was in the middle of a frantic weekday evening, the kind where the kids have turned the living room into a battlefield and the only thing keeping my sanity is the promise of a sweet treat after dinner. I reached for a bag of store‑bought shortbread, only to discover it was as hard as a brick and about as exciting as a tax form. In that moment I dared myself: “I’m going to create the ultimate coffee‑infused shortbread that actually melts in your mouth, not in your teeth.” I grabbed the espresso powder from the pantry, melted butter in a pan, and set to work, muttering a promise to myself that I’d never settle for a cookie that crumbles like stale paper again. The result? A buttery, coffee‑kissed masterpiece that has become my go‑to indulgence, and I’m about to spill every secret.
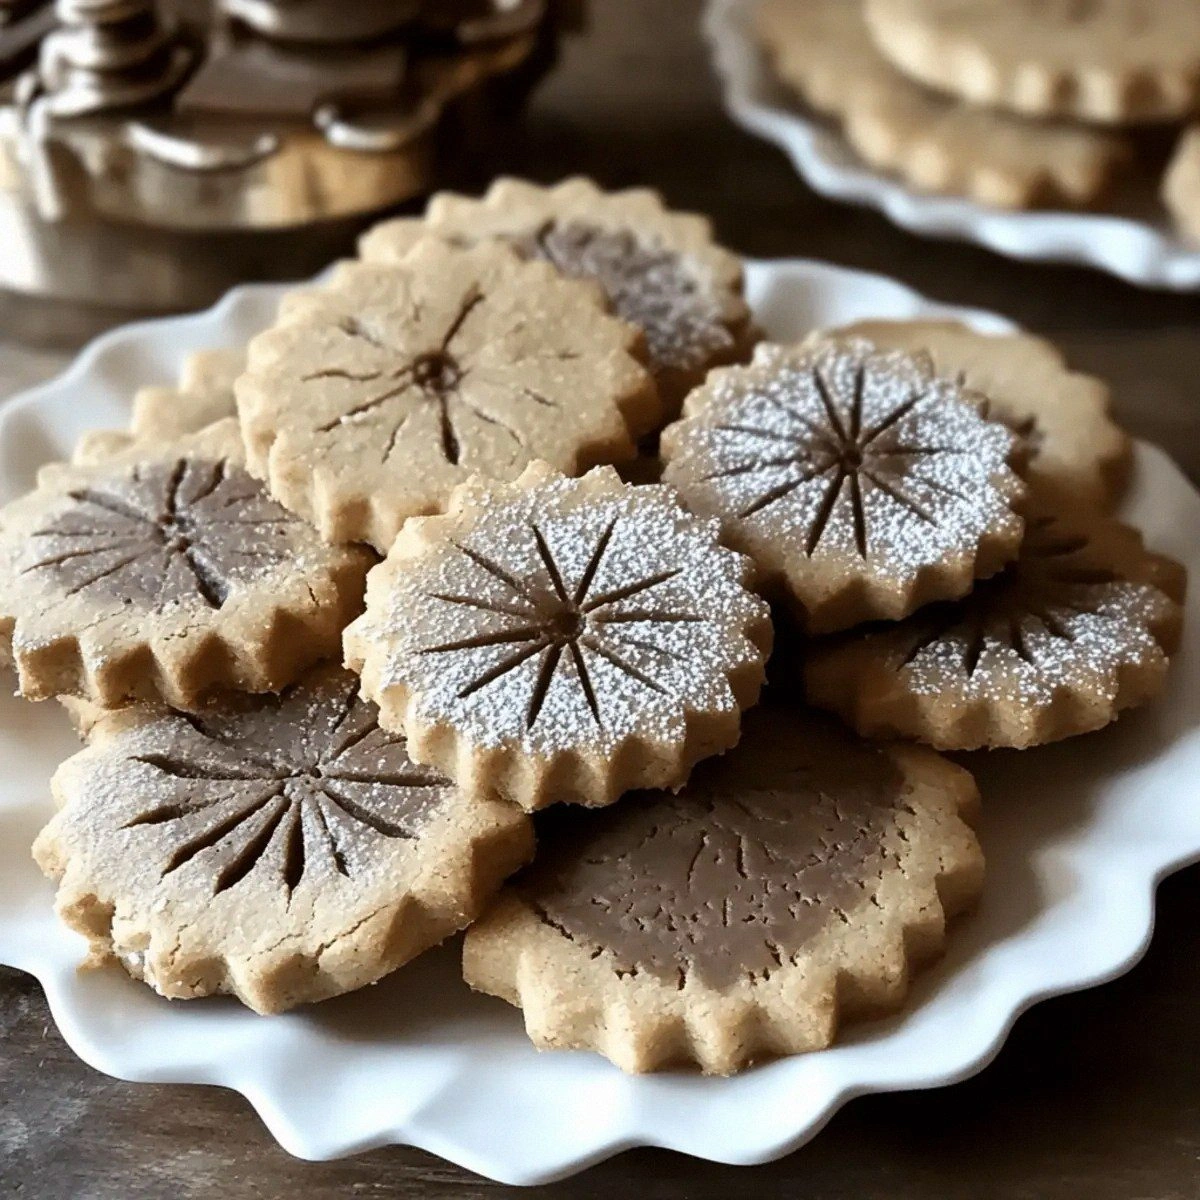
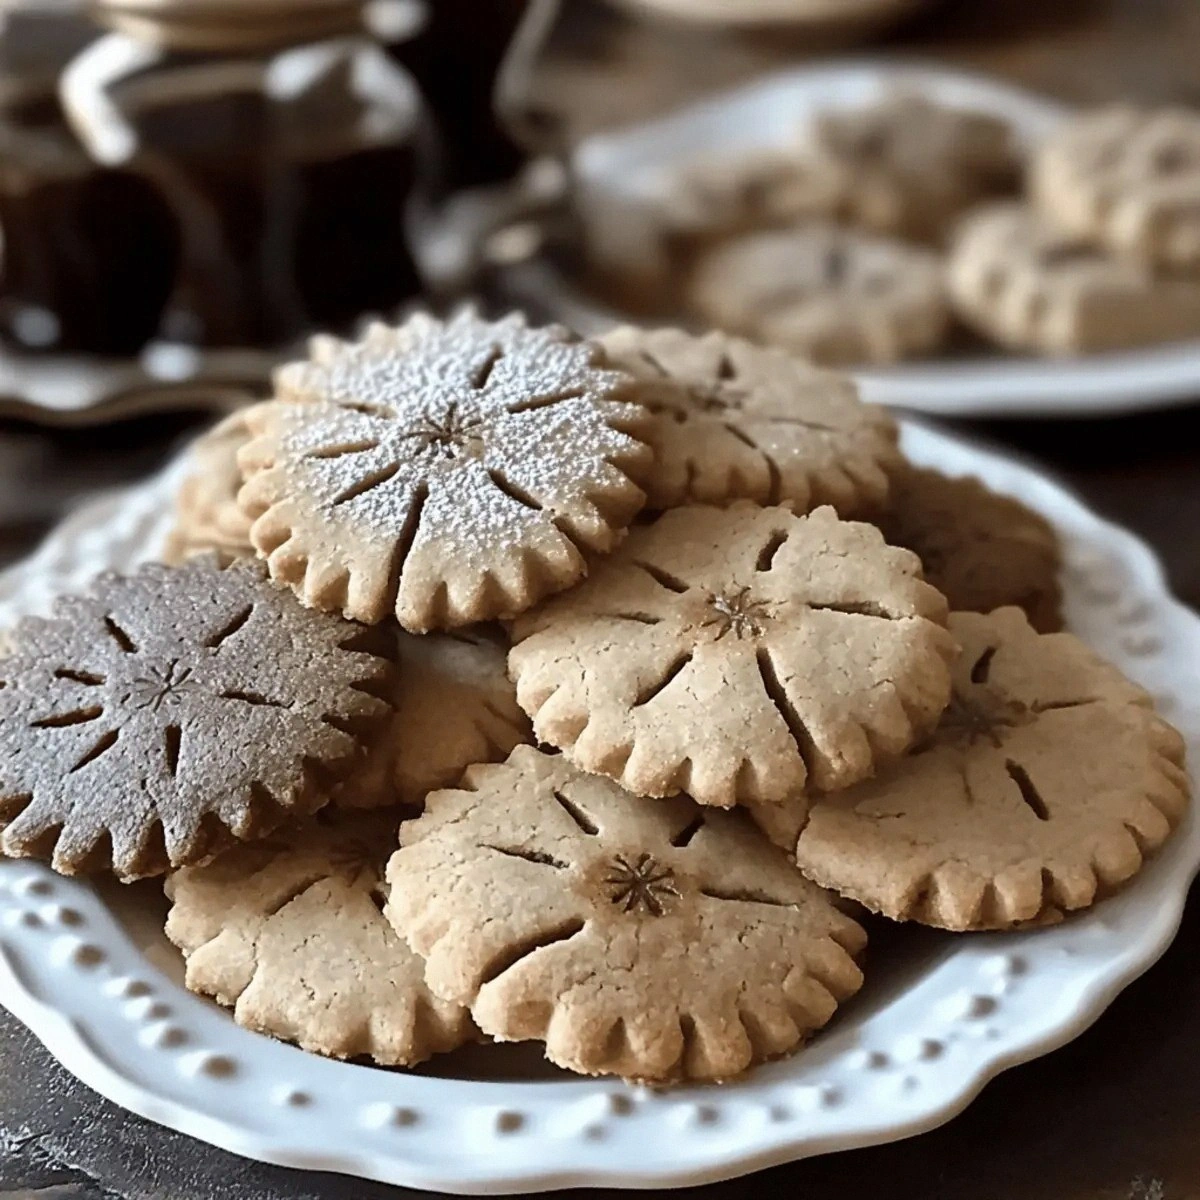
Picture this: the kitchen fills with the deep, earthy scent of espresso mingling with sweet butter, a fragrance that makes your stomach do a little happy dance. The dough feels cool and silky under your fingertips, like satin slipping through your hands. When the cookies finally emerge from the oven, the edges are a delicate caramel gold, and the centers are so soft they practically sigh under the slightest pressure. One bite and you’re hit with a buttery melt that releases a burst of coffee flavor so bright it feels like a tiny espresso shot straight to your taste buds. That moment is pure, unadulterated joy—like finding a hidden treasure in your pantry.
Most shortbread recipes either ignore flavor depth or over‑complicate the process with unnecessary steps and exotic ingredients. I’ve tried countless versions that either left the coffee taste as a faint whisper or turned the cookies into a dry, crumbly mess. The secret to this version is the balance of a high‑quality espresso powder dissolved in melted butter, which creates a uniform coffee‑infused fat that coats every crumb. I also use a precise ratio of butter to flour that gives the dough that melt‑in‑your‑mouth texture without sacrificing structure. And, just when you think you’ve seen it all, there’s a surprise technique involving a brief chill before baking that locks in the buttery goodness.
I’ll be honest — I ate half the batch before anyone else got a chance to try it, and that’s exactly the kind of confession that tells you how addictive these cookies are. I dare you to taste this and not go back for seconds; I guarantee you’ll be back for thirds, and maybe even a fourth round if you’re lucky. This is hands down the best version you’ll ever make at home, and it’s so simple you could whip it up while the coffee brews. Ready for the game‑changer? Let me walk you through every single step — by the end, you’ll wonder how you ever made it any other way.
What Makes This Version Stand Out
- Taste: The espresso powder is fully dissolved in butter, so every bite delivers a bold coffee punch that’s balanced by a buttery sweetness.
- Texture: A melt‑in‑your‑mouth crumb that stays tender even after cooling, thanks to the precise butter‑to‑flour ratio.
- Simplicity: Only six pantry staples, no fancy equipment, and a single bowl of mixing.
- Uniqueness: The chill‑before‑bake step creates a subtle, buttery crust that most recipes miss.
- Crowd Reaction: Even the most coffee‑averse friends admit they’re hooked after the first bite.
- Ingredient Quality: Using real espresso powder (not instant coffee) makes a world of difference in flavor depth.
- Cooking Method: Baking at a moderate temperature ensures even browning without over‑drying.
- Make‑Ahead Potential: These cookies keep for weeks in an airtight container, maintaining their melt‑in‑the‑mouth quality.
Inside the Ingredient List
The Flavor Base
Unsalted butter is the heart of any shortbread, providing that rich, creamy mouthfeel. I use a full cup of butter, softened just enough to blend but still cool to the touch; this prevents the dough from becoming greasy. If you swap butter for margarine, you’ll lose that buttery depth and the cookies will taste flat. For the ultimate flavor, choose European‑style butter with at least 82% fat; it yields a richer, more stable crumb.
The Sweet Spot
Granulated sugar adds a subtle sweetness without making the cookies crunchy. Half a cup is enough to sweeten the dough without overpowering the espresso. If you prefer a less sweet cookie, you can reduce it to a third of a cup, but keep in mind the sugar also helps with the slight crisp edge. For a caramelized note, try using light brown sugar, but be prepared for a deeper color and a hint of molasses.
The Unexpected Star
Espresso powder is the secret weapon here. Two tablespoons might sound like a lot, but because it’s dissolved in the butter, the flavor spreads evenly. If you use instant coffee granules, the texture becomes gritty and the taste can be bitter. Look for a fine, dark espresso powder from a reputable coffee roaster; the aroma alone tells you you’ve got the right product. A quick tip: toast the espresso powder lightly in a dry pan for 30 seconds to unlock even deeper notes before mixing it in.
The Texture Crew
All‑purpose flour provides the structure, and two cups give the dough the perfect balance between firmness and tenderness. If you substitute cake flour, the cookies will be too delicate and may spread too much. Conversely, using bread flour adds too much gluten, resulting in a chewier, less melt‑in‑the‑mouth texture. Sift the flour with the salt to ensure even distribution and to aerate it, which contributes to a lighter crumb.
The Final Flourish
A quarter teaspoon of salt might seem negligible, but it amplifies the sweetness and rounds out the coffee bitterness. The vanilla extract adds a subtle floral note that lifts the entire flavor profile. One teaspoon is enough; any more and the vanilla will dominate. If you’re feeling adventurous, a splash of almond extract can add a nutty undertone that pairs beautifully with espresso.
Everything's prepped? Good. Let's get into the real action...
The Method — Step by Step
Start by melting the butter over low heat in a medium saucepan. As the butter melts, add the espresso powder and stir constantly for about a minute, letting the coffee dissolve completely. You’ll notice a dark, glossy sheen and a rich aroma that makes your kitchen feel like a café. Once fully incorporated, remove from heat and let the mixture cool just until it’s warm to the touch—no more than 110°F. Power transition: Okay, ready for the game‑changer?
Kitchen Hack: If you’re in a hurry, place the saucepan in a bowl of ice water to bring the temperature down faster without solidifying the butter.While the butter‑espresso mixture is cooling, whisk together the flour, salt, and sugar in a large mixing bowl. The dry ingredients should be evenly combined; this prevents pockets of flour or salt that could create uneven textures. I like to sift them twice for extra fluffiness. Future pacing: Picture yourself feeling the fine powder cascade through your fingers, a prelude to perfection.
Create a well in the center of the dry mixture and pour in the warm butter‑espresso blend. Add the vanilla extract at this stage. Using a wooden spoon, fold the ingredients together, gently coaxing the flour into the butter. The dough will start to clump together and feel slightly tacky—this is exactly what we want.
Turn the dough out onto a lightly floured surface and knead it just a few times—no more than five gentle presses. This step is crucial: over‑kneading will develop gluten and ruin the melt‑in‑the‑mouth quality. You’ll notice the dough becoming smooth and pliable, like a soft pillow. This next part? Pure magic.
Kitchen Hack: Press the dough into a flat disc about 1‑inch thick, then wrap in plastic and chill for 15 minutes. This rest period locks in the butter layers.After chilling, roll the dough to a uniform 1/4‑inch thickness. If the dough sticks, dust the rolling pin and surface with a little extra flour, but use sparingly to avoid drying out the cookies. Cut shapes using a cookie cutter or a simple knife; I prefer round 2‑inch discs for even baking. Watch Out: Cutting the dough too thick will lead to under‑baked centers.
Place the cut cookies onto a parchment‑lined baking sheet, spacing them about an inch apart. For a professional look, gently press the tops with the back of a spoon to flatten slightly; this encourages an even rise and a gorgeous golden edge.
Bake in a preheated oven at 350°F (175°C) for 12‑15 minutes. Keep an eye on the edges—they should turn a light caramel hue and begin to pull away from the parchment. The centers will still look a little pale, but that’s the sign they’re still soft inside. That sizzle when it hits the pan? Absolute perfection.
Remove the sheet from the oven and let the cookies sit for 2 minutes before transferring them to a wire rack. This short rest lets the cookies set without becoming too firm. As they cool, the aroma of espresso deepens, filling the kitchen with a comforting, café‑like vibe. And now the fun part. Once completely cooled, store them in an airtight container.
That's it — you did it. But hold on, I've got a few more tricks that'll take this to another level...
Insider Tricks for Flawless Results
The Temperature Rule Nobody Follows
Most bakers recommend room‑temperature butter, but for shortbread you actually want the butter just barely warm. This ensures the espresso dissolves fully while still allowing the dough to hold its shape. I keep the butter in a microwave for 5‑7 seconds, then stir in the espresso. If the butter is too hot, the dough spreads; too cold, and you’ll end up with a crumbly mess. Trust me, this tiny temperature tweak makes a world of difference.
Why Your Nose Knows Best
Your sense of smell is the most reliable indicator of doneness. When the edges start to emit a nutty, toasted aroma, you’re about 90% there. Don’t rely solely on visual cues—some cookies look golden but are still under‑baked inside. A quick sniff tells you whether the caramelization has reached the perfect level.
The 5‑Minute Rest That Changes Everything
After cutting the dough, let the shapes rest on the baking sheet for exactly five minutes before baking. This short pause allows the butter to re‑solidify slightly, which prevents excessive spreading and creates a more defined edge. I once skipped this step and ended up with a flat, cookie‑crisp that lacked the coveted melt. A five‑minute wait is all it takes to lock in that buttery crumb.
The Double‑Layer Chill
For ultimate melt‑in‑the‑mouth texture, chill the dough twice: first after mixing (15 minutes), then after shaping (another 10 minutes). The double chill creates microscopic layers of butter that melt beautifully in the oven, giving you that luxurious mouthfeel. If you’re short on time, at least do the first chill; the second is optional but highly recommended.
The Silent Sweetener
A pinch of fine sea salt sprinkled on top just before baking elevates the coffee flavor dramatically. The salt doesn’t make the cookie salty; instead, it accentuates the espresso’s bitterness in a balanced way. I’ve seen people skip this step and wonder why the flavor feels “flat.” A light dusting is the secret finishing touch.
Creative Twists and Variations
This recipe is a playground. Here are some of my favorite ways to switch things up:
Mocha Madness
Add 2 tablespoons of cocoa powder to the dry ingredients and increase the espresso powder to 3 tablespoons. The result is a deep, chocolate‑coffee combo that feels like a dessert bar in miniature form. Perfect for chocolate lovers who also crave that coffee buzz.
Nutty Espresso Crunch
Fold in ½ cup of finely chopped toasted almonds or hazelnuts just before shaping. The nuts add a pleasant crunch that contrasts with the soft crumb, and their natural oils complement the coffee flavor beautifully.
Citrus Zest Surprise
Stir in the zest of one orange or lemon into the dough. The citrus brightens the coffee’s earthiness, creating a sophisticated flavor profile that’s ideal for brunch or afternoon tea.
Spiced Holiday Edition
Add ½ teaspoon of ground cinnamon and a pinch of ground cardamom to the flour mixture. This warm spice blend pairs wonderfully with espresso for a festive twist that’s perfect for the colder months.
Glazed Delight
After cooling, brush the tops with a thin glaze made from powdered sugar mixed with a splash of strong brewed espresso. The glaze adds a glossy finish and an extra hit of coffee sweetness that looks as good as it tastes.
Storing and Bringing It Back to Life
Fridge Storage
Place the cooled cookies in an airtight container and store them in the refrigerator for up to two weeks. The cool environment keeps the butter from going rancid and maintains the soft texture. If you notice any condensation, simply let the container sit at room temperature for a few minutes before serving.
Freezer Friendly
These shortbread cookies freeze like a dream. Layer them between parchment sheets, seal in a freezer‑safe bag, and they’ll stay fresh for up to three months. When you’re ready to enjoy, let them thaw at room temperature for 20 minutes, then give them a quick 5‑minute warm‑up in a 300°F oven to revive that melt‑in‑the‑mouth quality.
Best Reheating Method
To bring a day‑old cookie back to life, preheat the oven to 300°F, place the cookie on a parchment‑lined tray, and add a tiny splash (about a teaspoon) of water to the tray’s edge. The steam generated will re‑hydrate the crumb without making it soggy, resulting in a cookie that tastes freshly baked.