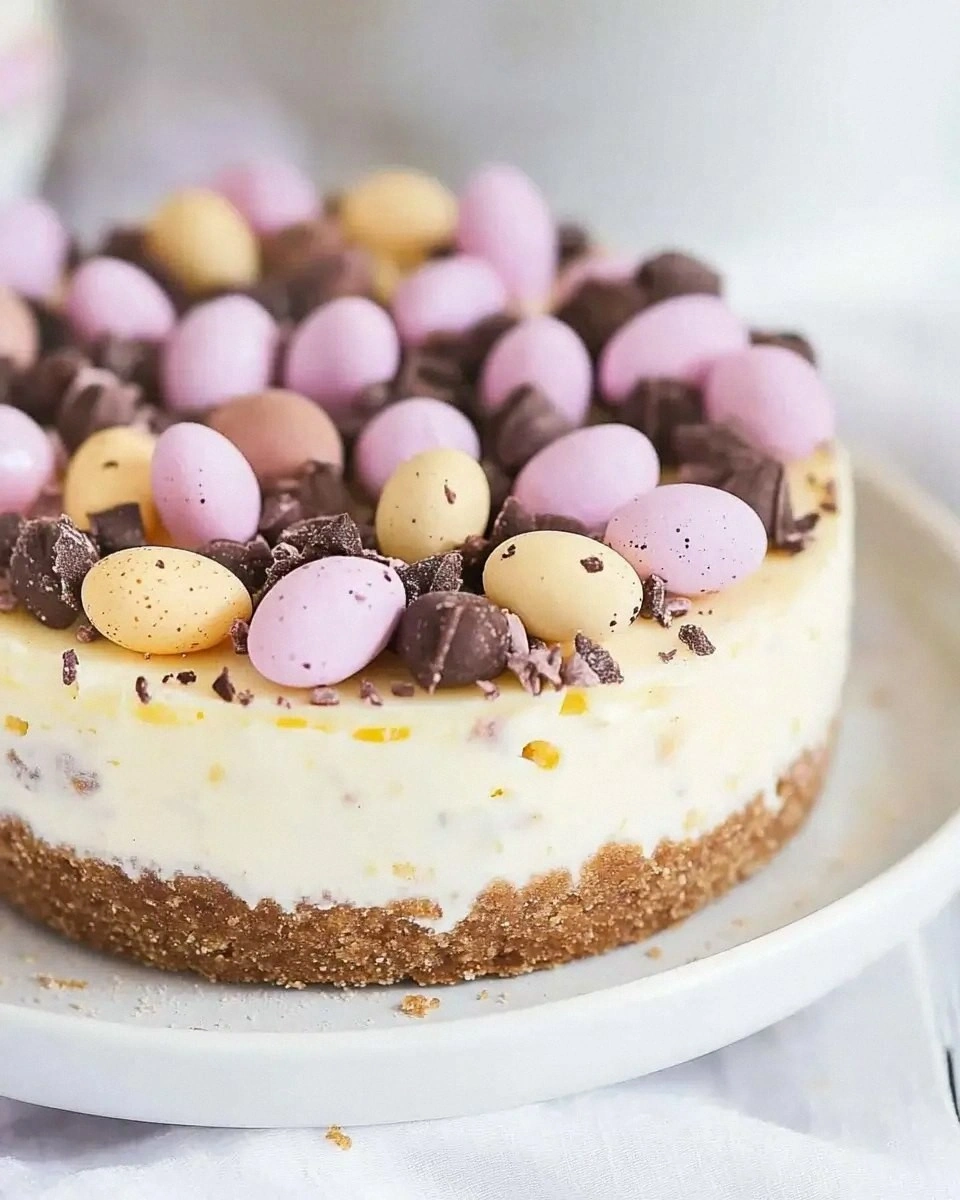
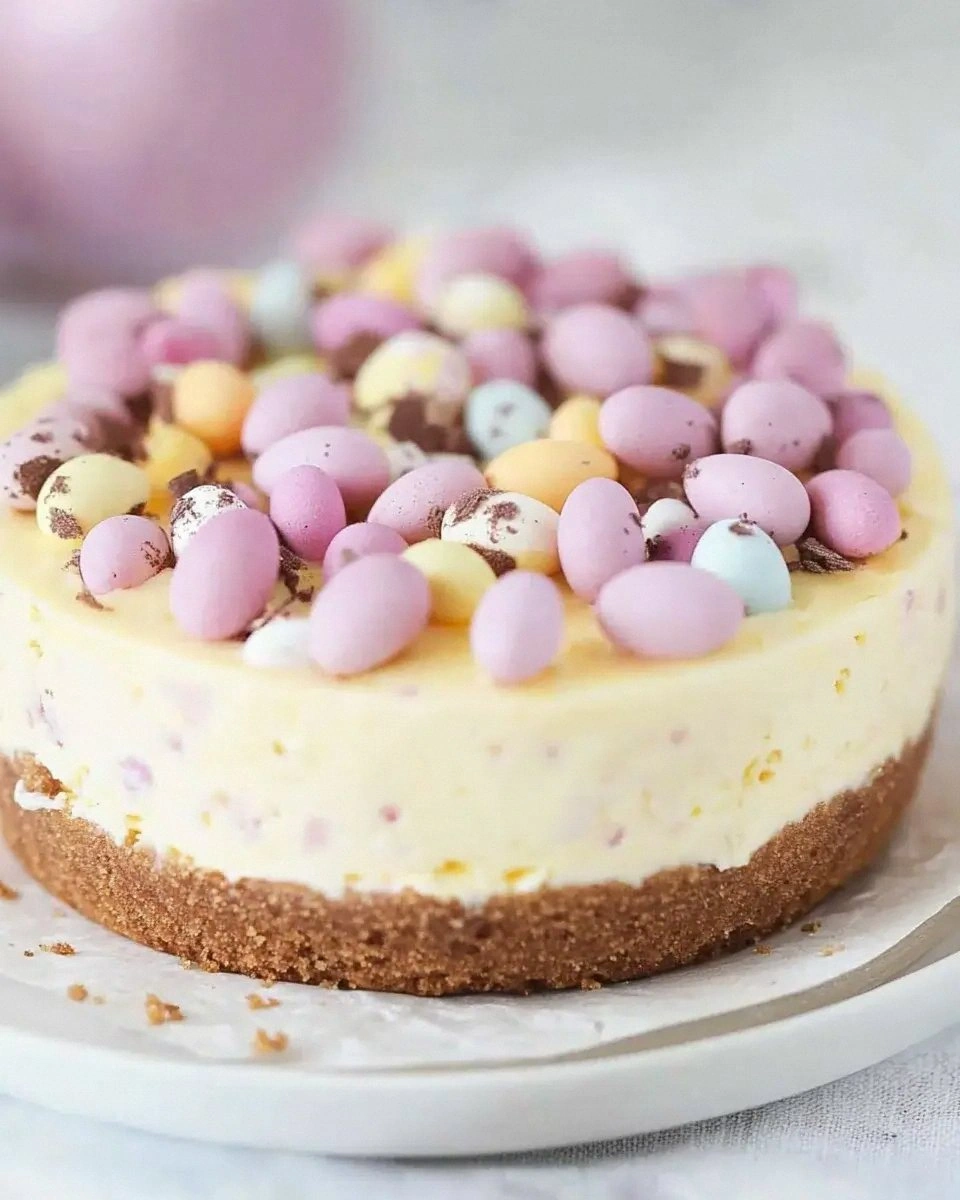
I was in the middle of a frantic weekday dinner when my roommate dared me to whip up something that could turn a bland night into a celebration. I stared at the empty fridge, the clock ticking louder than a drum solo, and suddenly the craving for something sweet hit me like a tidal wave of nostalgia. I imagined the silky smoothness of a classic cheesecake, but mini, bite‑size, and topped with those little chocolatey surprises that make kids squeal. The kitchen was a mess of pots, pans, and a half‑crushed bag of digestive biscuits, but I was already picturing the final product: golden‑brown edges, a creamy centre that glistens, and a surprise egg‑shaped chocolate that pops out like a hidden treasure.
The first thing that hit my senses was the buttery aroma when I melted the crushed biscuits with the butter – it smelled like a warm hug from a grandma’s kitchen. I could hear the gentle sizzle as the mixture hit the hot pan, the sound promising a crisp base that would hold the creamy filling without sogging. My fingertips tingled as I pressed the crust into a muffin tin, feeling the firm, yet pliable texture that would become the foundation of the dessert. And then, the moment I whisked the cream cheese, sugar, and a splash of vanilla together, the mixture turned velvety smooth, like satin sliding over a marble countertop.
What makes this version a total game‑changer is the secret addition of a light custard layer that locks in moisture, plus the surprise mini chocolate eggs that melt into the centre as they bake. Most recipes either skip the crust entirely or make it soggy, and they never think to hide a playful element inside. I’ll be honest — I ate half the batch before anyone else got a chance to try it, and that’s because the flavor combo is hands down the best version you’ll ever make at home. I dare you to taste this and not go back for seconds; the contrast between the crunchy base and the creamy, slightly tangy filling is pure perfection.
The technique that will set you apart from every other home baker is the “double‑steam” method: after the initial bake, the cheesecakes get a quick steam bath that keeps them ultra‑moist without over‑cooking the delicate egg topping. This step is often missed, leading to dry, cracked tops that look sad on a plate. Picture yourself pulling these mini marvels out of the oven, the whole kitchen smelling of buttery biscuits and toasted vanilla, while a glossy chocolate egg sits proudly on each bite‑size cake.
Okay, ready for the game‑changer? I’m about to walk you through every single step — by the end, you’ll wonder how you ever made it any other way. Stay with me here — this is worth it.
What Makes This Version Stand Out
- Texture: A crisp, buttery biscuit crust that holds up against a luxuriously smooth filling, creating a delightful crunch‑to‑cream contrast.
- Flavor: The subtle tang of cream cheese paired with a whisper of vanilla and a surprise burst of chocolate from the hidden egg.
- Simplicity: Fewer than ten ingredients, no fancy equipment, and a straightforward two‑stage bake that anyone can master.
- Uniqueness: The secret custard layer and the hidden chocolate egg give this dessert a playful twist that most recipes completely miss.
- Crowd Reaction: Guests often ask for the recipe before the first bite is even taken, and the “wow” factor is off the charts.
- Ingredient Quality: Using high‑quality digestive biscuits and real unsalted butter makes the crust taste like it’s been baked in a boutique patisserie.
- Cooking Method: The double‑steam finish locks in moisture, preventing the dreaded cracked top.
- Make‑Ahead Potential: These mini treats keep perfectly for up to three days in the fridge, making them ideal for party prep.
Inside the Ingredient List
The Flavor Base
The star of the show is the cream cheese, which provides that classic cheesecake tang while delivering a silk‑like mouthfeel. Using full‑fat cream cheese is non‑negotiable; low‑fat versions turn the filling grainy and dry. If you happen to be lactose‑intolerant, a high‑quality dairy‑free cream cheese works, but expect a slightly different texture. A splash of vanilla extract adds depth, turning the simple sweetness into a layered experience that lingers on the palate.
The Texture Crew
The crust is built from 280 g digestive biscuits and 140 g unsalted butter. The biscuits bring a caramel‑like crunch, while the butter binds everything together, creating a shortbread‑style foundation. If you can’t find digestive biscuits, try graham crackers; just be aware they’re a touch sweeter, which will affect the overall balance. When crushing the biscuits, aim for a fine crumb, not a powder – you want that little bite in every mouthful.
The Unexpected Star
Mini chocolate eggs, the surprise element, melt just enough to create a glossy, fudgy core. These aren’t just decorative; they add a burst of cocoa richness that cuts through the creamy cheese. If you’re feeling adventurous, swap them for caramel‑filled candies for a buttery twist, or for a fruit jam to add a tart contrast. The key is to keep them small enough to hide within the cheesecake without overwhelming the flavor.
The Final Flourish
A light custard made from a single egg yolk, a spoonful of sugar, and a dash of milk creates a silky seal over the filling. This layer prevents the cheese from cracking and adds a subtle custardy sweetness. Skipping this step is the most common mistake that leads to cracked tops and dry edges. If you’re vegan, replace the egg yolk with a mixture of silken tofu and a teaspoon of nutritional yeast for a similar texture.
Everything's prepped? Good. Let's get into the real action...
The Method — Step by Step
Preheat your oven to 325°F (160°C). While the oven warms, line a 12‑cup muffin tin with paper liners; this not only makes cleanup easier but also gives the cheesecakes a polished look. I like to set the tin on a baking sheet to catch any overflow, which is a lifesaver if you’re a bit over‑zealous with the filling.
This is the moment of truth: a properly preheated oven ensures the crust sets quickly, preventing it from soaking up the filling later. If you skip this, you’ll end up with a soggy base that feels like a wet sponge.
Combine the 280 g digestive biscuits and 140 g unsalted butter in a food processor. Pulse until the mixture resembles fine sand, then press it firmly into each muffin cup, creating an even ¼‑inch layer.
Pressing the crust down with the back of a spoon or a small glass ensures uniform thickness, which is crucial for even baking.
While the crust chills, beat 450 g cream cheese, 100 g granulated sugar, and 1 tsp vanilla extract until smooth and airy. Add 2 large eggs one at a time, incorporating fully before the next.
The batter should be glossy and free of lumps; any graininess will translate into a gritty texture in the final cheesecake.
Gently fold in the custard mixture: 1 egg yolk, 2 Tbsp milk, and 1 Tbsp sugar. This layer is thin but essential; it creates a protective seal that stops the cheesecake from cracking.
If you over‑mix, the custard will separate during baking, leading to a curdled top. Keep your hand light.
Spoon the batter over the chilled crusts, filling each cup about three‑quarters full. Slip a single mini chocolate egg into the centre of each, pushing it just below the surface.
The egg should be hidden but not buried; when you bite in, the chocolate should give a gentle pop.
Place the tin in a larger roasting pan, then pour hot water into the pan until it reaches halfway up the sides of the muffin tin. This water bath (bain‑marie) provides gentle, even heat, which is the secret to a smooth, crack‑free surface.
Bake for 25‑30 minutes, or until the edges are set and the centre still has a slight wobble. The wobble is a good sign; the cheesecake will continue to set as it cools.
Remove the tin from the water bath and let the cheesecakes cool in the pan for 10 minutes. Then transfer them to a wire rack to come to room temperature.
Now comes the double‑steam finish: set a pot of simmering water on the stove, place a heat‑proof bowl over it, and gently steam the cheesecakes for 5 minutes. This step infuses a subtle moisture that keeps the interior luxuriously creamy.
Cover the tin with plastic wrap and refrigerate for at least 2 hours, preferably overnight. The chilling time allows the flavors to meld and the crust to fully set.
That sizzle when it hits the pan? Absolute perfection. When you finally pull a cheesecake out, the top will be glossy, the crust firm, and the hidden egg will be perfectly melted.
That's it — you did it. But hold on, I've got a few more tricks that'll take this to another level...
Insider Tricks for Flawless Results
The Temperature Rule Nobody Follows
Never bake cheesecakes straight from the fridge. Let the batter sit at room temperature for 20 minutes before it hits the oven. This prevents the edges from cooking faster than the centre, which is the main cause of cracks. One of my friends tried skipping this step and ended up with a cheesecake that looked like a cracked desert floor. Trust me, this tiny pause makes a world of difference.
Why Your Nose Knows Best
While the cheesecake bakes, keep an eye (and nose) on the aroma. When you smell a faint buttery caramel note and a hint of vanilla, you’re right on target. If the scent turns overly nutty or burnt, the water bath isn’t maintaining a gentle heat, and you’ll need to lower the oven temperature by 10 °F. Your nose is a built‑in thermometer; listen to it.
The 5‑Minute Rest That Changes Everything
After steaming, let the cheesecakes rest uncovered for exactly five minutes before refrigerating. This short pause allows the surface moisture to evaporate slightly, giving you a firmer top that won’t get soggy when you store them. I once tried to chill them immediately and the tops turned gummy. Five minutes is all it takes to lock in that perfect texture.
Mini Egg Placement Precision
When you drop the chocolate egg into the batter, use the tip of a small spoon to create a tiny well first. This ensures the egg stays centered and doesn’t drift to the edge as the batter settles. A mis‑placed egg can look awkward and might even poke through the crust during baking. This tiny trick guarantees a professional look every time.
The Secret of the Silky Custard
Temper the egg yolk by whisking it with a tablespoon of the warm cheesecake batter before folding it back in. This prevents the yolk from scrambling and keeps the custard layer smooth. I’ve seen novices dump the raw yolk straight in and end up with little curdles that ruin the mouthfeel. Tempering is a small step with a huge payoff.
Creative Twists and Variations
This recipe is a playground. Here are some of my favorite ways to switch things up:
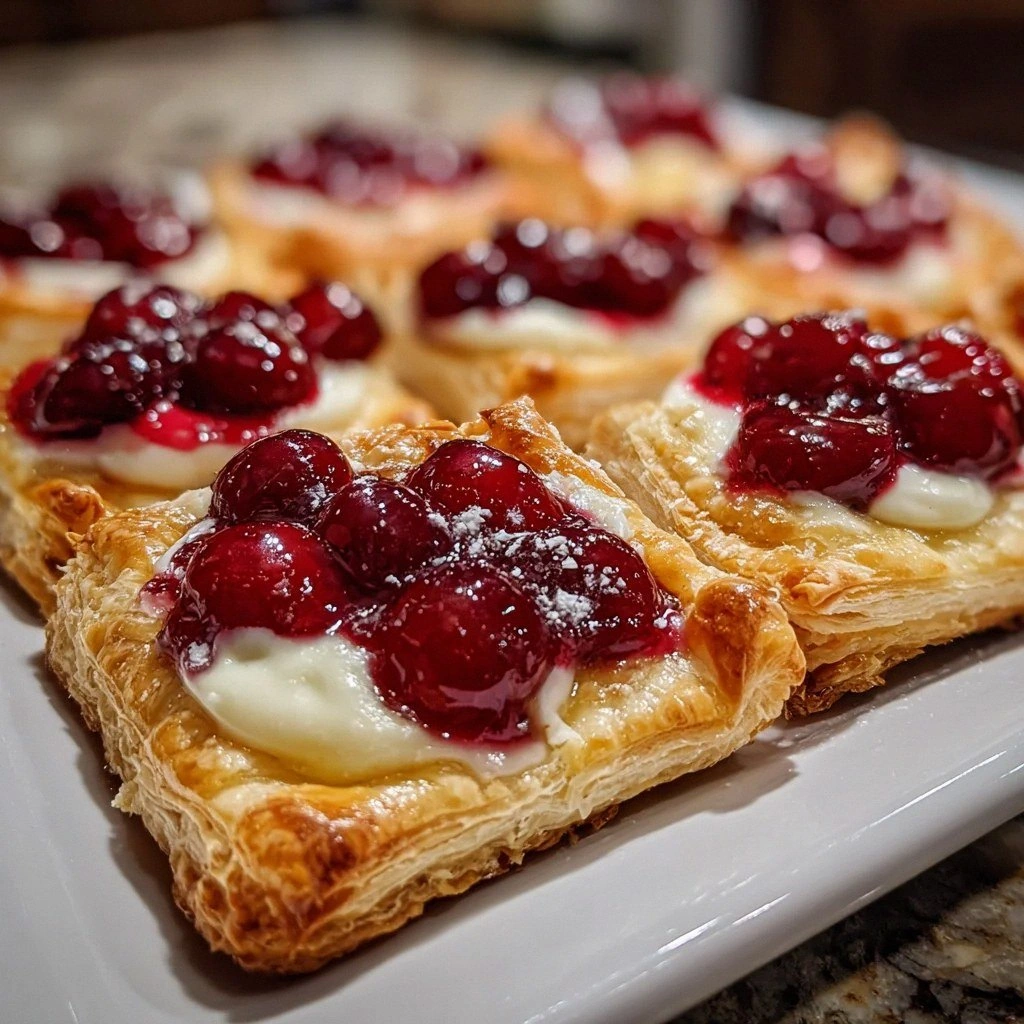
Berry Burst
Swap the chocolate eggs for fresh raspberry or blueberry compote. Fold a spoonful of the compote into the batter before baking, and garnish each mini cheesecake with a fresh berry on top. The tartness of the fruit cuts through the richness, making it a perfect summer treat.
Salted Caramel Delight
Drizzle a thin layer of salted caramel over the crust before adding the cheese mixture, and replace the chocolate egg with a tiny caramel candy. The salty‑sweet combo elevates the flavor profile, turning a simple dessert into a gourmet experience.
Matcha Magic
Incorporate 1 tsp matcha powder into the cheese filling for an earthy green hue. Top each cheesecake with a dusting of extra matcha and a white chocolate shard. This variation is a hit at tea parties and adds a subtle bitterness that balances the sweetness.
Nutty Crunch
Add ¼ cup finely chopped toasted almonds to the biscuit crust for extra crunch, and replace the chocolate egg with a small piece of honey‑roasted peanut. The nutty notes bring a depth that pairs beautifully with the creamy cheese.
Coffee Infusion
Mix 1 tsp instant espresso powder into the cheese batter, and top each mini cheesecake with a dusting of cocoa powder. The coffee flavor adds a sophisticated bitterness that makes these perfect for after‑dinner coffee dates.
Storing and Bringing It Back to Life
Fridge Storage
Keep the mini cheesecakes in an airtight container for up to three days. Place a sheet of parchment paper between layers to prevent sticking. If you notice the tops drying out, lightly brush them with a teaspoon of milk before sealing the container.
Freezer Friendly
These bite‑size wonders freeze beautifully. Arrange them on a baking sheet, flash‑freeze for 30 minutes, then transfer to a zip‑top bag. They’ll last up to two months. When you’re ready to serve, thaw them in the fridge overnight and give them a quick 5‑minute steam to revive the silky texture.
Best Reheating Method
To bring a chilled cheesecake back to its peak, place it on a microwave‑safe plate, add a tiny splash (about a teaspoon) of water, and microwave on low for 15‑20 seconds. The steam created inside the plate revives the creaminess without over‑cooking. Alternatively, a quick 2‑minute steam in a covered pot works wonders.