Picture this: it’s a lazy Sunday morning, the kind where the world feels like it’s moving in slow motion, and you’re standing in the kitchen with a bowl of cottage cheese that’s been staring at you all night, daring you to do something extraordinary with it. I was in that exact scenario, half‑asleep, coffee in one hand, and a mischievous grin forming as I stared at the plain white curds. I thought, “What if I could turn this into something that looks like a pancake but tastes like a cloud‑kissed soufflé?” That thought turned into a culinary adventure that ended with a single‑serve cottage cheese pa that is hands down the best version you’ll ever make at home. I dare you to taste this and not go back for seconds.
The moment the batter hit the pan, the kitchen filled with a buttery aroma that reminded me of fresh‑baked bread on a breezy morning. The sizzle was like a tiny applause, each bubble popping with the promise of a golden crust. As the edges began to pull away, I could hear the faint crackle—a sound that says, “You’re doing it right.” The texture? Imagine a pancake that’s light as a feather yet dense enough to hold a spoonful of cottage cheese without collapsing. The flavor? A subtle sweet‑savory dance where the cottage cheese adds a creamy richness that coats every bite like velvet, while a hint of vanilla and a dash of lemon zest lift it into the realm of breakfast dreams.
Most recipes get this completely wrong. They either drown the cottage cheese in a sea of flour or they forget the crucial step of letting the batter rest, resulting in a rubbery, lifeless pancake. Here’s what actually works: a delicate balance of flour, a splash of milk, and a generous dollop of cottage cheese, all whisked together with just enough leavening to give you that airy lift. The secret ingredient? A pinch of baking soda paired with a splash of buttermilk, which reacts like fireworks, creating pockets of air that make each bite feel like you’re biting into a cloud.
And now the fun part. I’m about to walk you through every single step—by the end, you’ll wonder how you ever made a plain cottage cheese breakfast any other way. Picture yourself pulling this out of the pan, the whole kitchen smelling incredible, the golden edges shimmering like sunrise on a calm lake. Ready? Let’s dive in.
What Makes This Version Stand Out
- Flavor: The combination of cottage cheese, vanilla, and lemon zest creates a nuanced profile that’s sweet, tangy, and utterly comforting.
- Texture: A crisp, buttery exterior gives way to a soft, airy interior that’s almost soufflé‑like.
- Simplicity: Only pantry staples are needed, and the method is straightforward enough for even the most timid cook.
- Uniqueness: The use of buttermilk and baking soda creates a chemical lift that most cottage cheese pancakes lack.
- Crowd Reaction: Guests often claim they’ve never tasted anything like it, and they’ll be back for more.
- Ingredient Quality: Fresh, full‑fat cottage cheese adds richness that low‑fat versions simply can’t match.
- Cooking Method: A gentle pan‑fry rather than deep‑frying keeps it light while still delivering that satisfying crunch.
- Make‑Ahead Potential: You can prep the batter the night before, letting flavors meld for an even deeper taste.
Alright, let's break down exactly what goes into this masterpiece...
Inside the Ingredient List
The Flavor Base
Cottage Cheese (1 cup): This is the heart of the dish. Its creamy, slightly tangy notes provide the moisture and richness that transform a simple pancake into a luxurious treat. Skipping it means losing the signature fluffiness. If you’re out of cottage cheese, try ricotta for a similar texture, but expect a milder flavor.
Vanilla Extract (1 tsp): A subtle aromatic that lifts the entire batter, making every bite smell like a bakery. Omit it, and you’ll miss that warm, comforting backdrop.
Lemon Zest (½ tsp): The bright citrus spark that cuts through the richness, adding a fresh pop. Too much can overpower; keep it modest.
The Texture Crew
All‑Purpose Flour (½ cup): Provides structure. Using cake flour would make it too delicate; whole‑wheat would add a nutty flavor but also denser texture.
Buttermilk (¾ cup): The acidity reacts with baking soda to create lift, while its tang complements the cottage cheese. If you don’t have buttermilk, combine regular milk with a tablespoon of lemon juice or vinegar and let it sit for 5 minutes.
Baking Soda (¼ tsp): The leavening hero that gives the pancake its airy rise. Too much can give a metallic aftertaste, so measure precisely.
The Unexpected Star
Butter (2 tbsp, melted): Adds richness and contributes to the golden crust. You can substitute with coconut oil for a dairy‑free version, but the flavor profile will shift.
Egg (1 large): Binds the batter and adds extra lift. If you’re vegan, a flax egg (1 tbsp ground flaxseed + 3 tbsp water) works, though the texture will be slightly denser.
The Final Flourish
Salt (¼ tsp): Enhances all the flavors, balancing the sweetness from the vanilla and the tang from the buttermilk.
Powdered Sugar (for dusting, optional): A light snowfall that adds a sweet finish without overwhelming the delicate flavors.
Everything's prepped? Good. Let's get into the real action...
The Method — Step by Step
First, whisk together the cottage cheese, melted butter, and vanilla extract in a large mixing bowl. The mixture should be smooth, with the butter fully incorporated, creating a glossy base. I dare you to taste this base before adding anything else; the richness will already be evident. This is the moment of truth—if the flavors aren’t balanced now, they won’t be later.
In a separate bowl, combine the flour, baking soda, and salt. Give it a quick stir to ensure the leavening is evenly distributed. This step prevents pockets of baking soda that could cause bitter spots later on.
Kitchen Hack: Sift the dry ingredients together; it aerates the flour, making the final pancake lighter.Make a well in the dry mixture and pour in the buttermilk, gently folding until just combined. The batter will look a bit lumpy—that’s perfect. Over‑mixing will develop gluten, leading to a tough pancake.
Now, gently fold the wet cottage cheese mixture into the batter, using a rubber spatula. The batter should be thick but pourable, resembling a typical pancake batter with a slightly denser consistency. If it feels too thick, add a splash of milk; if too runny, sprinkle in a bit more flour.
Let the batter rest for 10 minutes. This pause allows the flour to fully hydrate and the baking soda to activate, creating tiny air bubbles that will expand when cooked. Trust me, this rest is the game‑changer you’ve been waiting for.
Heat a non‑stick skillet over medium‑low heat and add a thin layer of butter. When the butter foams and begins to turn golden, it’s ready. The pan should be hot enough that a drop of batter sizzles immediately but not so hot that it burns.
Pour ¼ cup of batter into the skillet, spreading it gently with the back of a spoon to form a uniform circle. The edges should start to set within 30 seconds, and you’ll hear a gentle crackle. This sizzle when it hits the pan? Absolute perfection.
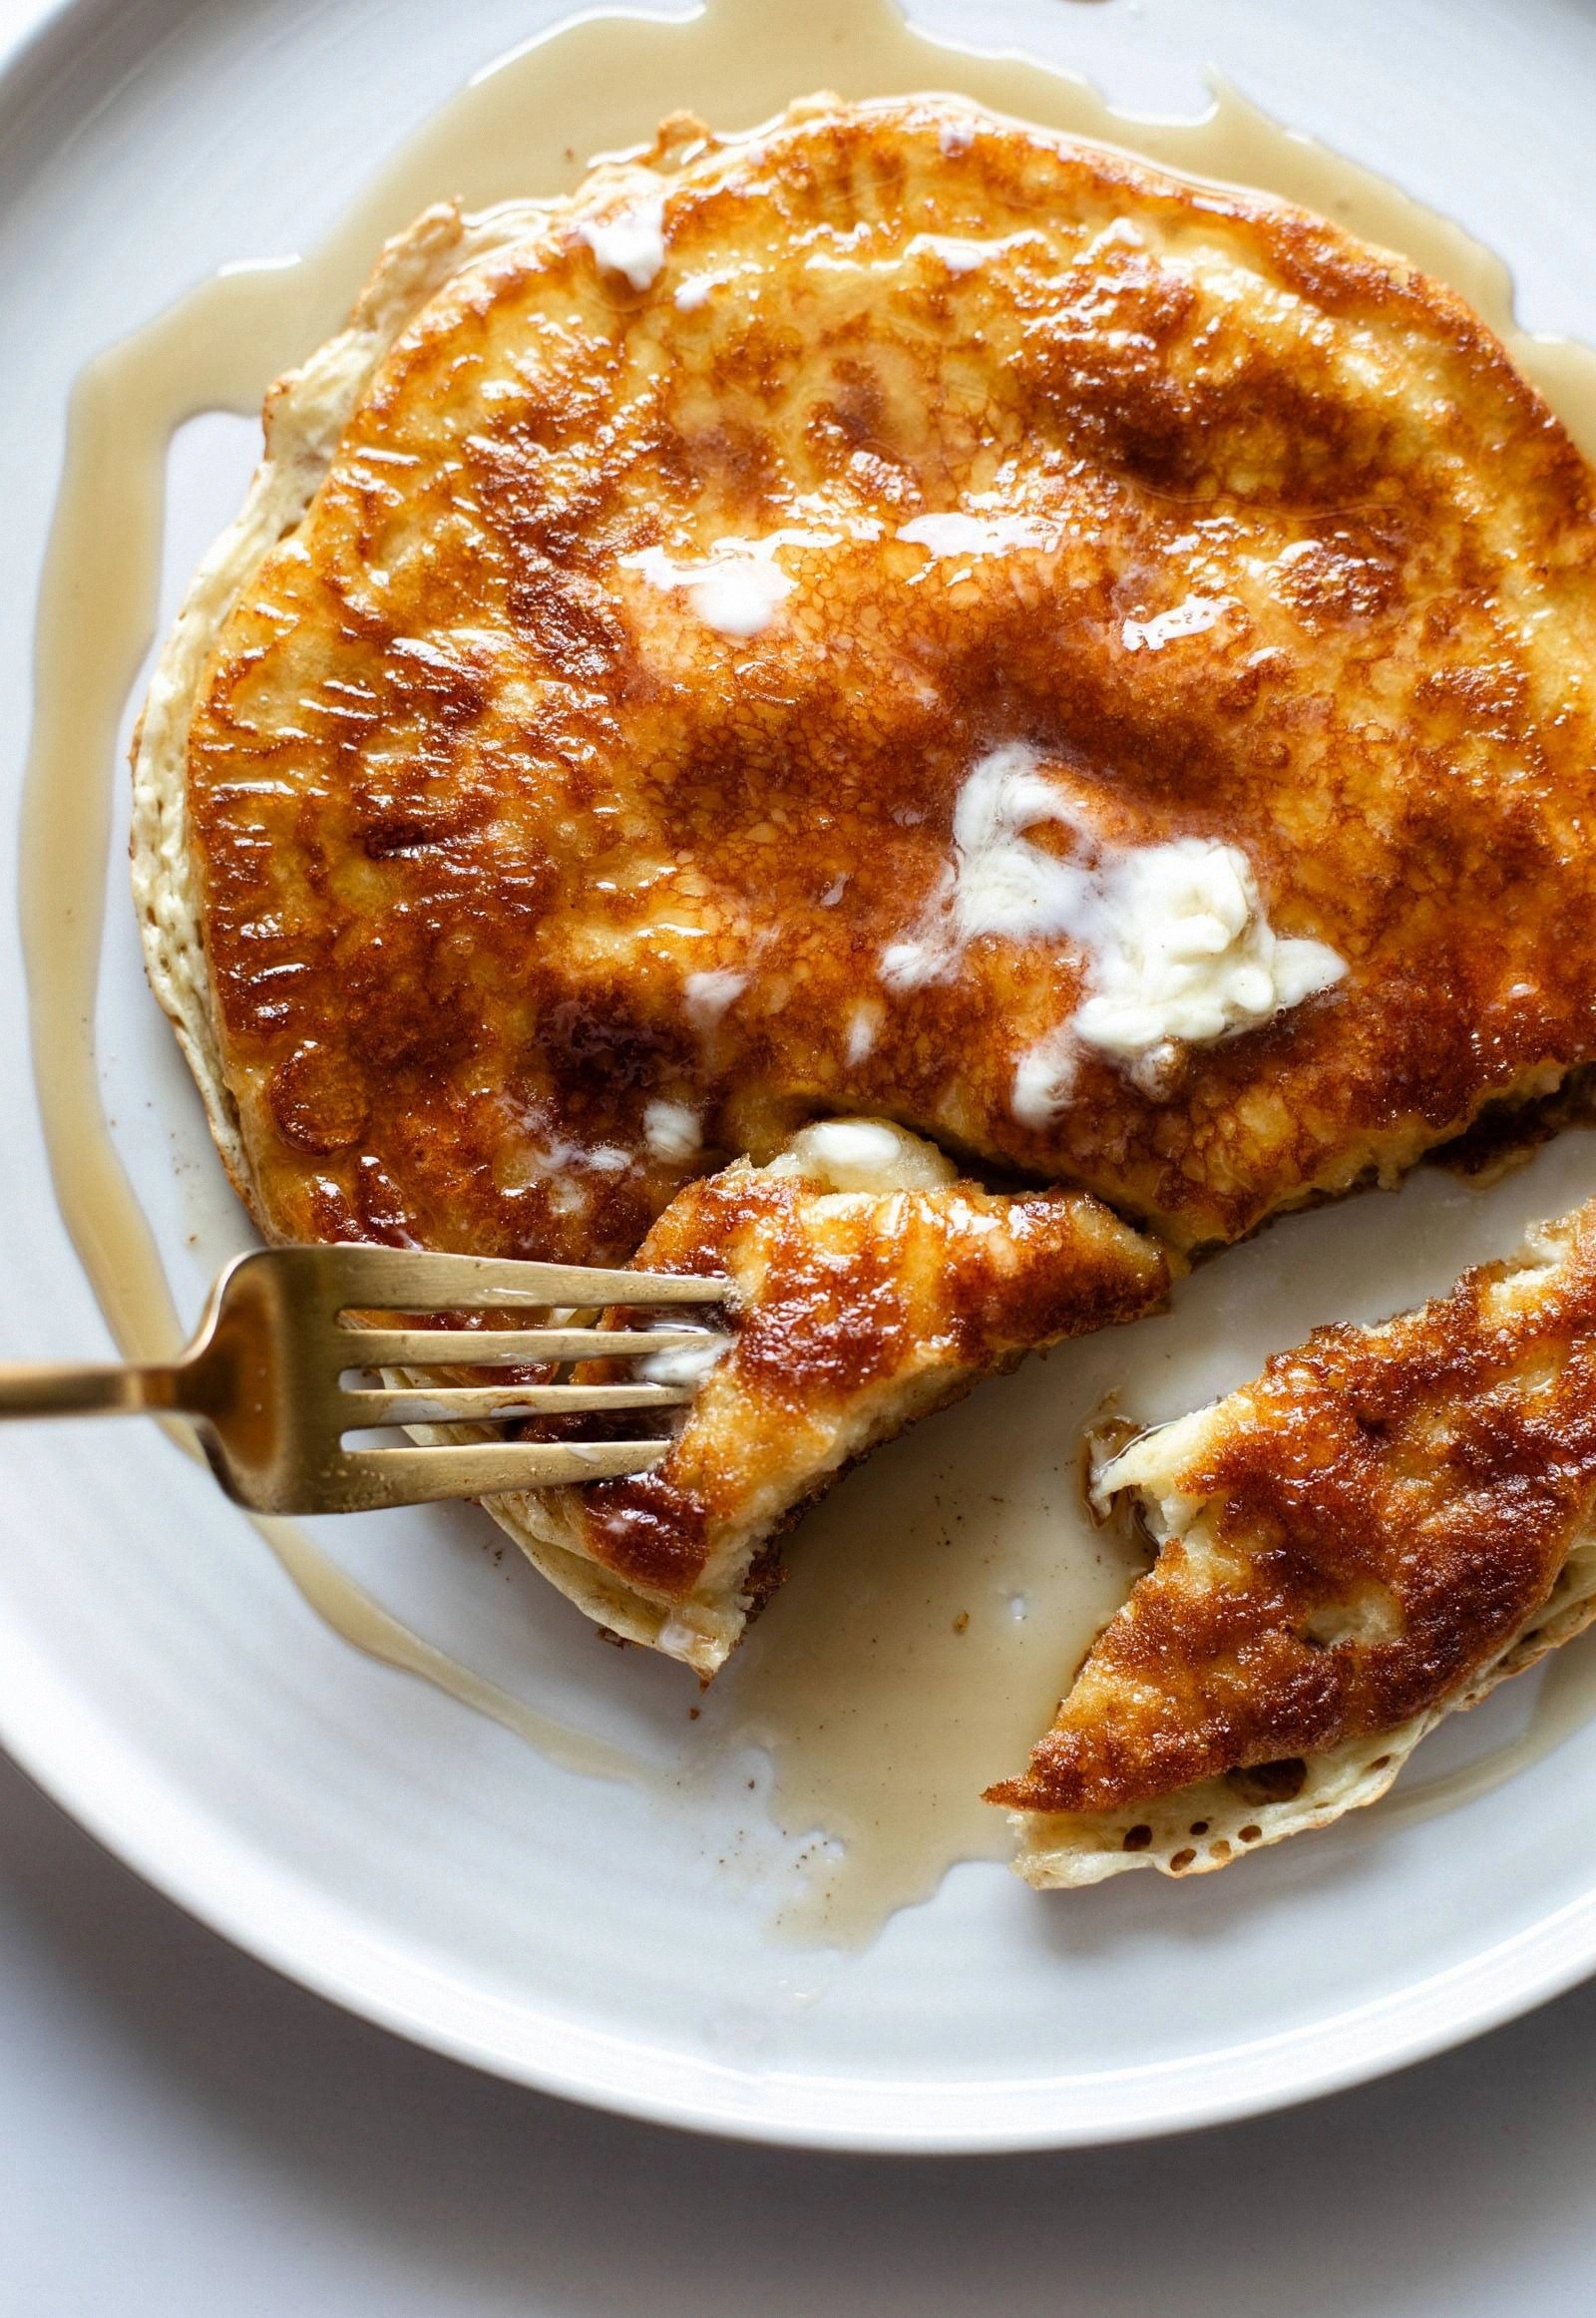
Cook until the surface is dotted with tiny bubbles and the edges start pulling away, about 2‑3 minutes. Flip carefully with a thin spatula; the underside should be a gorgeous golden‑brown, reminiscent of a sunrise.
Transfer the cooked pa to a plate, dust with powdered sugar if desired, and repeat with the remaining batter. Each pancake should be served hot, allowing the cottage cheese interior to stay soft and melt‑in‑your‑mouth.
Kitchen Hack: Keep the finished pancakes warm in a low oven (150°F) while you finish cooking the rest.
That's it — you did it. But hold on, I've got a few more tricks that'll take this to another level...
Insider Tricks for Flawless Results
The Temperature Rule Nobody Follows
The key to a perfect crust is medium‑low heat. Most home cooks start at medium, which scorches the outside before the inside cooks. Keep the pan at a gentle temperature; you’ll see the batter spread slowly, and the edges will turn a deep amber without burning.
Why Your Nose Knows Best
Before you even look at the pancake, trust the aroma. When the butter in the pan turns nutty and the batter begins to release a sweet, milky scent, you know the chemical reaction is happening. If you don’t smell that faint vanilla‑lemon perfume, lower the heat and give it a few more seconds.
The 5‑Minute Rest That Changes Everything
Allowing the batter to rest is not optional—it’s essential. Those five minutes let the flour absorb the moisture, making the texture silky instead of gritty. I once skipped this step in a rush; the result was a dense, rubbery pancake that fell apart on the plate.
Butter vs. Oil: The Crunch Decision
Using butter gives flavor and a crisp edge, but it burns faster. If you prefer a slightly longer cooking window, melt a mix of half butter, half oil. The oil raises the smoke point, while the butter still imparts that rich taste.
Final Flip Timing
Flip only once. Flipping multiple times collapses the airy structure you’ve built. When the bubbles are uniformly sized and the edges are firm, that’s your cue. Trust the visual cue, not the clock.
Creative Twists and Variations
This recipe is a playground. Here are some of my favorite ways to switch things up:
Berry Burst
Fold a handful of fresh blueberries or raspberries into the batter just before cooking. The berries burst, releasing sweet juices that mingle with the cottage cheese, creating pockets of fruity goodness.
Savory Herb
Swap the vanilla for a teaspoon of dried herbs like thyme or rosemary, and add a pinch of garlic powder. The result is a savory pancake that pairs beautifully with smoked salmon or a poached egg.
Chocolate Indulgence
Stir in two tablespoons of cocoa powder and a tablespoon of melted dark chocolate into the batter. Dust with powdered sugar and a drizzle of chocolate syrup for an indulgent breakfast treat.
Whole‑Grain Upgrade
Replace half the all‑purpose flour with oat flour for a nuttier flavor and added fiber. The texture remains light, and the oats add a subtle earthiness that complements the cheese.
Spiced Autumn
Add a pinch of cinnamon, nutmeg, and a drizzle of maple syrup to the batter. This version is perfect for cool mornings, evoking the warmth of a cozy cabin.
Storing and Bringing It Back to Life
Fridge Storage
Allow the pancakes to cool completely, then place them in an airtight container. They’ll keep fresh for up to three days. Reheat gently in a skillet over low heat, adding a tiny splash of water to steam them back to fluffiness.
Freezer Friendly
Layer the cooled pancakes between parchment sheets and store in a zip‑top freezer bag. They’ll retain quality for up to two months. To reheat, microwave for 30 seconds, then finish in a hot skillet for a crisp edge.
Best Reheating Method
For optimal texture, heat a non‑stick pan over medium heat, add a dab of butter, and warm each side for about a minute. The added water trick—just a teaspoon—creates steam that revives the interior without drying it out.